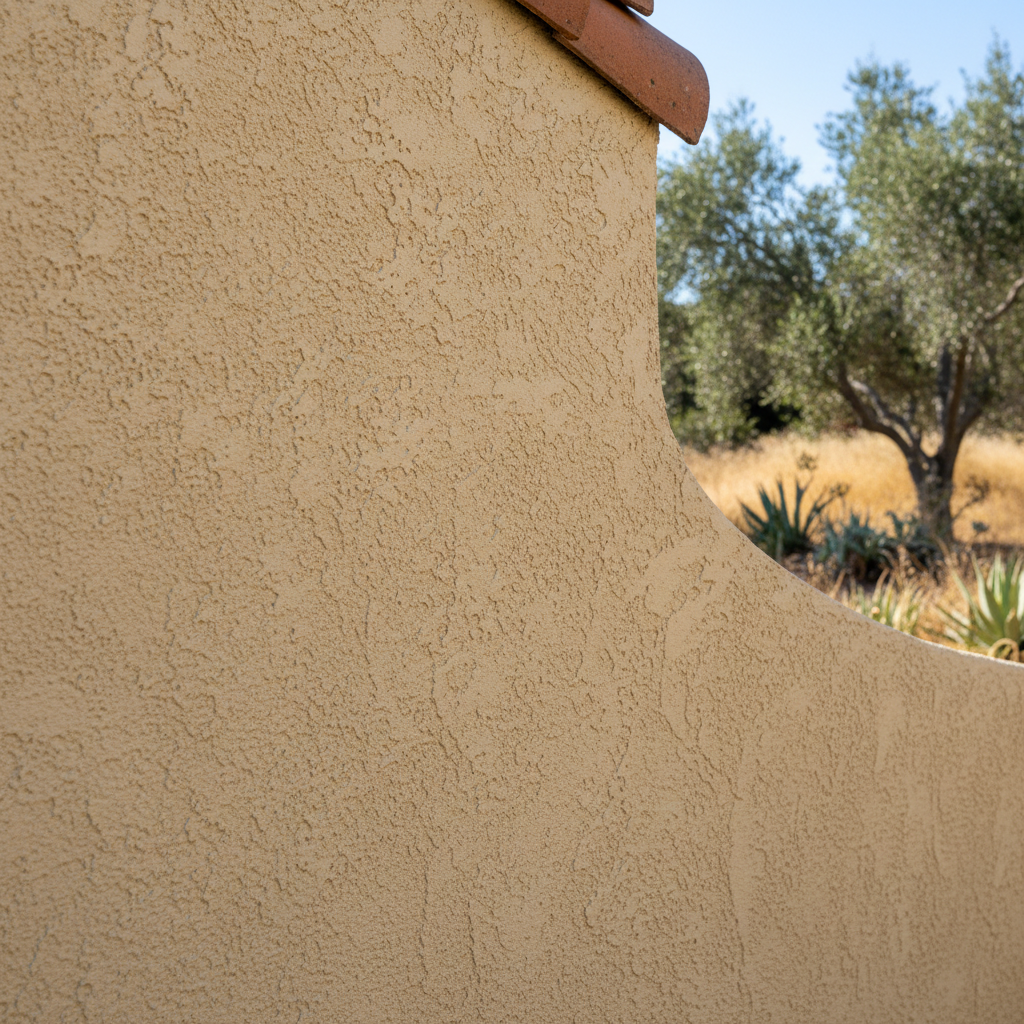
So, you're eyeing your stucco and thinking it might need a little sprucing up, maybe even a full redash. That's a pretty common thought, especially with some of the older homes we have here in Los Altos. But hold on before you grab a trowel; let's really dig into what redashing actually means and what you're getting into.
Redashing isn't just slapping on another coat of paint, you know. It's about putting a fresh finish coat of stucco right over an existing, solid stucco surface. This can totally transform how your home looks, hide small flaws, and essentially give it a clean slate. It's a smart way to boost your curb appeal without the huge cost of tearing off and re-applying every single stucco layer.
Before You Even Think About Redashing
Okay, first things first: Is your existing stucco actually in good shape? I'm not talking about a little dirt or faded color here. I mean, are there deep cracks, sections that bulge out, or spots that sound hollow when you tap them? If you've got serious structural problems, redashing just won't cut it. You'll need real repairs first, and sometimes, that means a full tear-off and re-stucco job. Redashing only works if the stucco underneath is solid and stuck on tight.
You also have to clean the surface really well. Power washing usually does the trick, but be careful not to damage older, softer stucco. You're trying to get rid of dirt, grime, loose paint, and any white powdery stuff (efflorescence). A clean, dry, and stable surface is absolutely essential for that new dash coat to bond correctly.
And don't forget the weather. You definitely don't want to be redashing in the middle of a Los Altos winter storm, or on one of those scorching hot summer days. Stucco needs specific temperatures and humidity levels to cure right. Too hot, and it dries way too fast, which leads to cracks. Too cold, and it won't cure at all. Aim for mild, steady weather – spring or fall usually works best around here, wouldn't you agree?
What You Can DIY (and What You Probably Shouldn't)
Alright, let's be real for a second. Some parts of this process are more homeowner-friendly than others. If you're pretty handy and pay close attention to detail, you might consider tackling:
- Surface Prep: This means cleaning the stucco, taping off windows, doors, and trim, and protecting your landscaping. It's a lot of work, but it doesn't require specialized stucco skills.
- Small Patching: If you have just tiny hairline cracks or little chips, you might be able to fix these yourself before the redash. Just make sure your patch material will play nice with both your old stucco and the new dash coat.
- Applying a Bonding Agent: Sometimes, a bonding agent is a good idea, or even required, to make sure the new dash sticks well. This is usually a product you roll or spray on, and it's pretty straightforward to apply evenly.
Now, here's where I'd tell most homeowners to probably step back:
- Mixing the Stucco: Getting the right consistency for a dash coat? That's an art form. Too wet, and it'll just run down the wall. Too dry, and it won't spread or bond. Plus, you need every batch to be consistent, otherwise you'll see color differences all over your wall.
- Applying the Dash Coat: This is the big kahuna. Getting a uniform texture and thickness across a large surface takes practice, special tools (like a hawk and trowel or a stucco sprayer), and a solid grasp of how stucco behaves. You've got to work quickly and steadily. If you've ever tried to perfectly mud a drywall joint, imagine that on a much bigger, outdoor scale, with a material that sets fast. You'll notice every start, stop, and uneven application. It's truly hard to make it look professional without experience.
- Matching Existing Textures: If you're only redashing one section and trying to match an existing texture, that's incredibly difficult, even for pros.
- Working at Heights: If your home has multiple stories or tricky architectural bits, safety becomes a huge concern. Scaffolding, ladders, and working overhead with heavy materials are not for the faint of heart or the inexperienced.
Honestly, for anything beyond basic prep, you're usually better off just calling in a professional. We've seen plenty of DIY redash jobs that end up costing more to fix than if the homeowner had simply hired us from the start. You really don't want a lumpy, uneven, or poorly bonded finish on your beautiful Los Altos home.
After the Redash: Curing and Care
Once that new dash coat is on, the job isn't quite finished. Curing is super important. Stucco needs to stay moist for a while, usually a few days, to get its full strength and avoid cracking. This often means misting the surface with water every so often, especially if it's warm and dry out. Don't go overboard and wash away the fresh stucco, but keep it damp.
Keep an eye on the weather forecast during this curing period. Unexpected rain can be a problem, but so can a sudden heatwave. A good contractor will plan for these things. You'll also need to keep people, pets, and anything else from bumping into the fresh stucco until it's completely hardened.
After it's cured, your new stucco dash should look great and last for years. Regular cleaning with a soft brush and water can keep it looking its best. If you decide to paint it later on, make sure you use a breathable paint made specifically for stucco.
Redashing can be a fantastic way to refresh your home's exterior. Just be realistic about your own skills and what the job demands. For a flawless, long-lasting finish that truly enhances your property, especially on those classic Spanish-style homes you see in places like the Country Club neighborhood, bringing in a team like Mighty Stucco Solutions is usually the smartest move. We do this every day, and we know how to get it right.